ModuGlow Logo

ModuGlow Lamp Build Manual
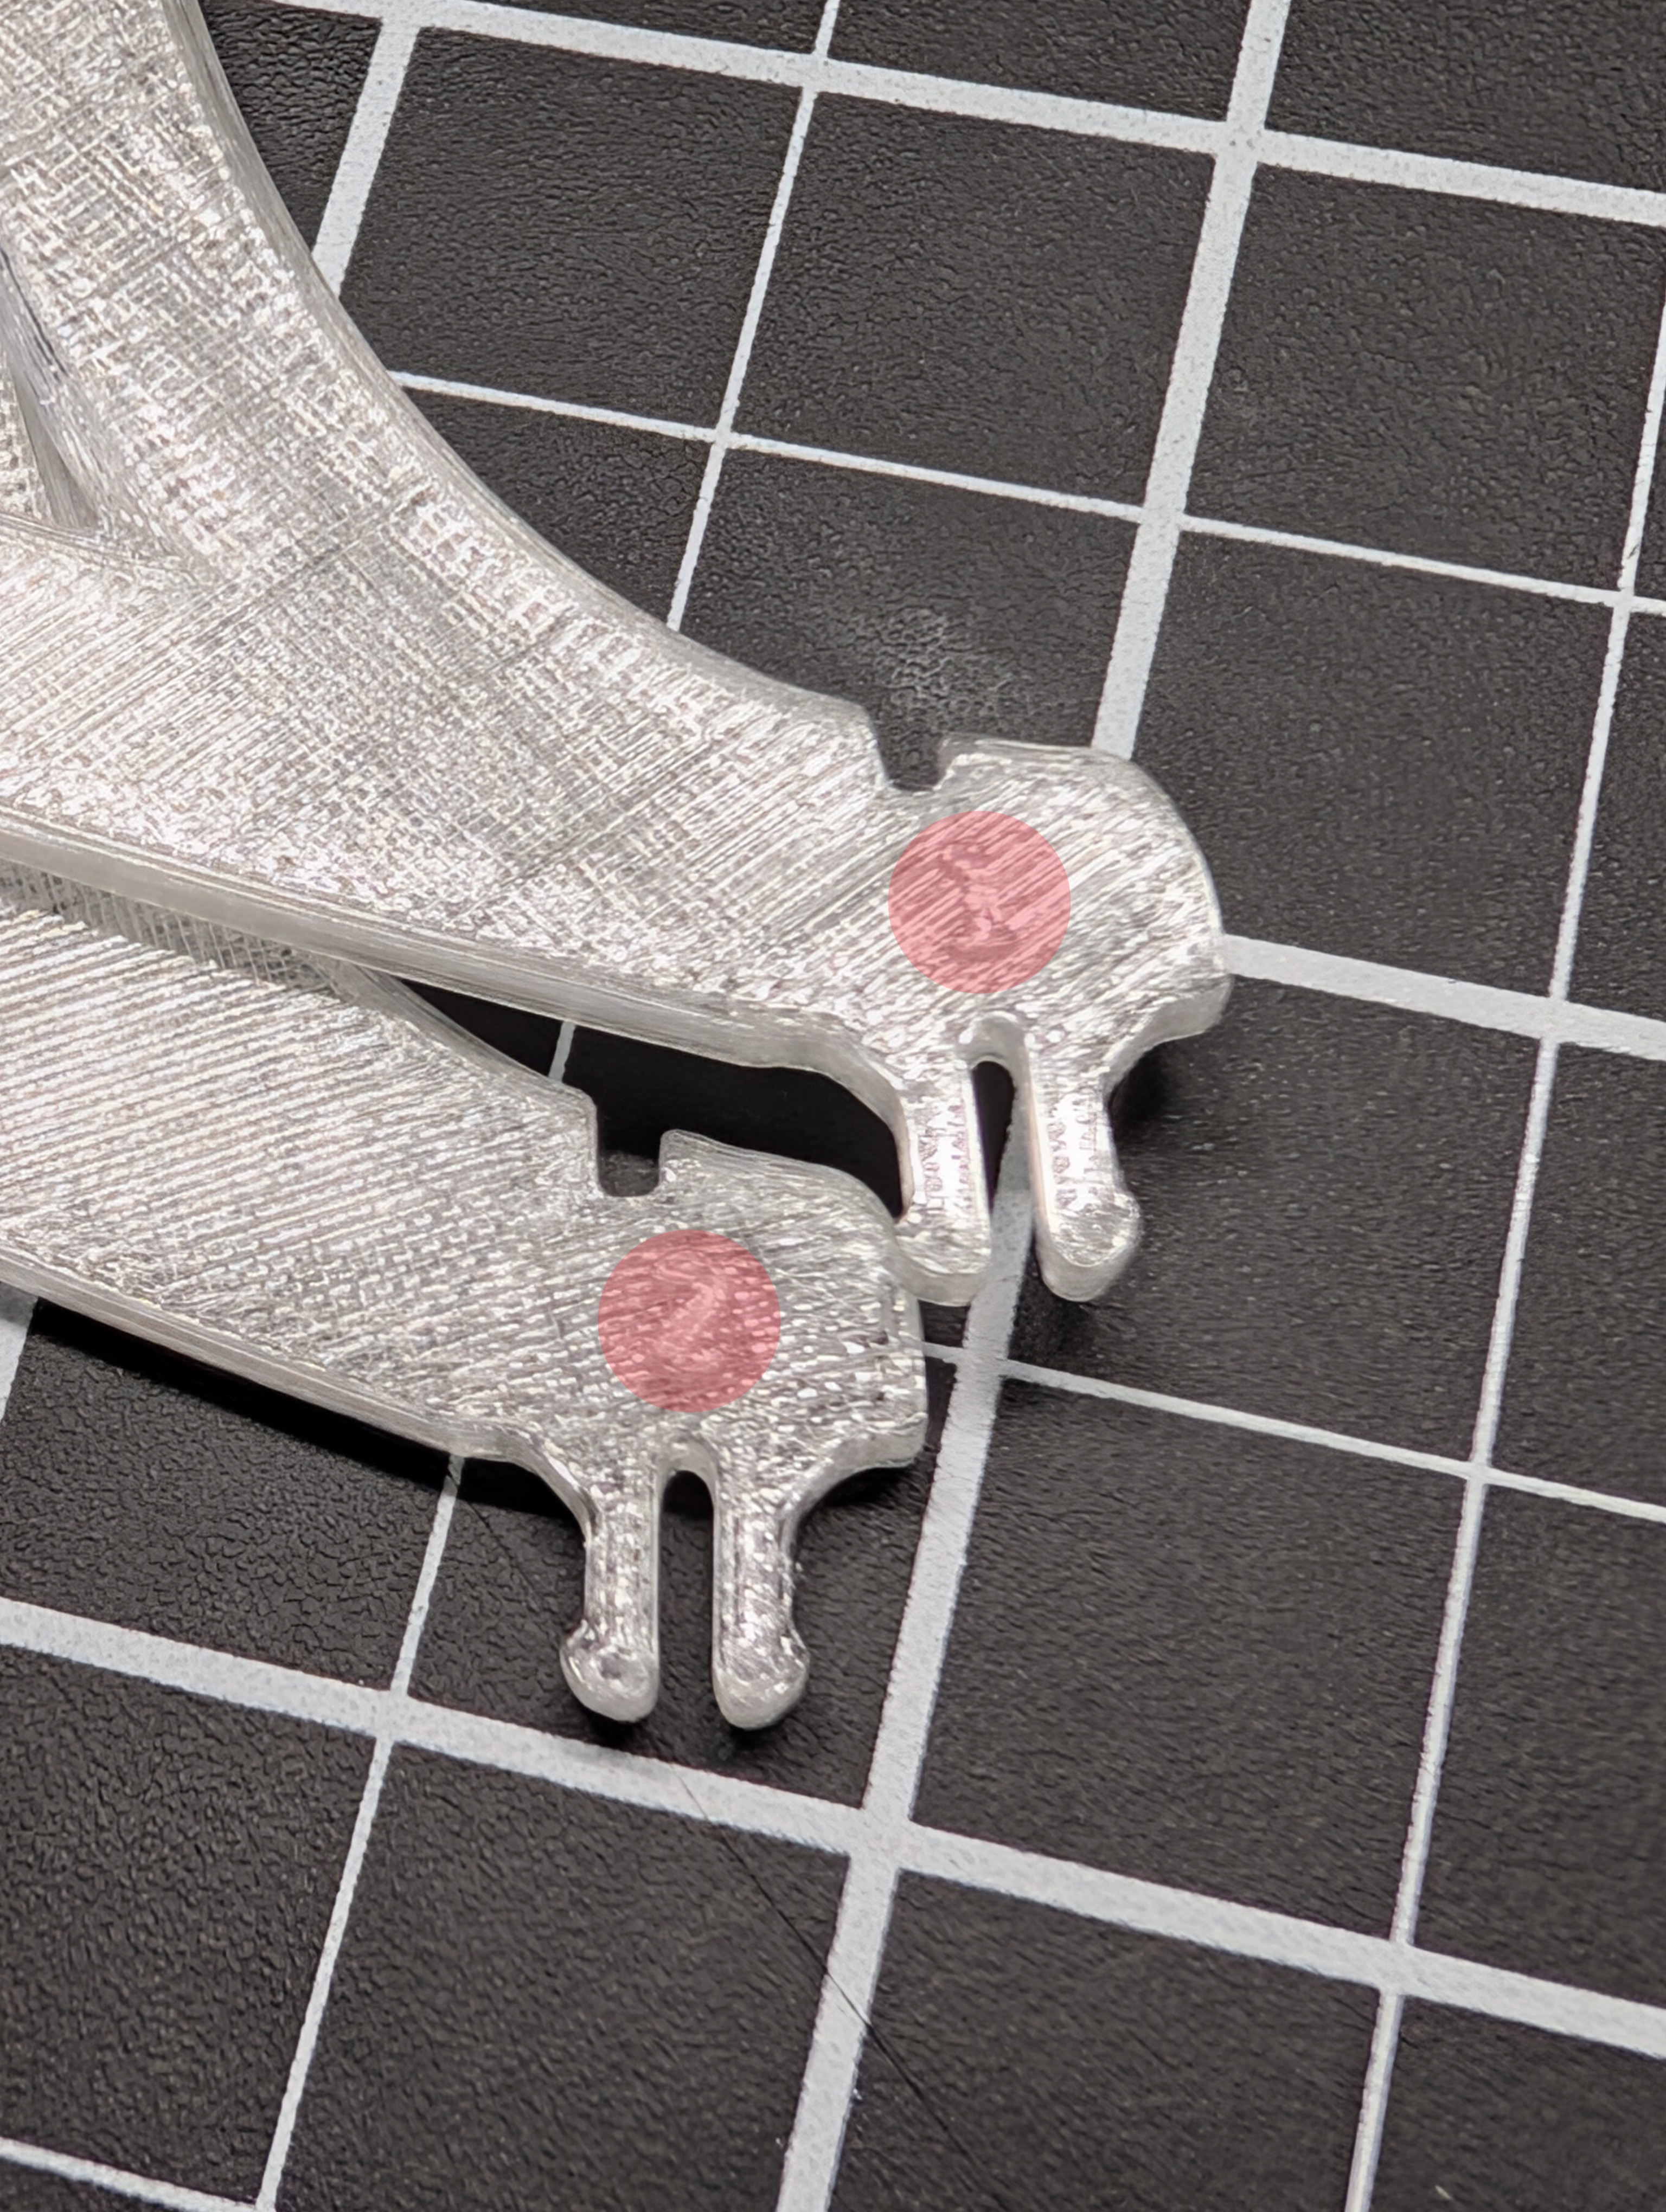
Leaf Style 2

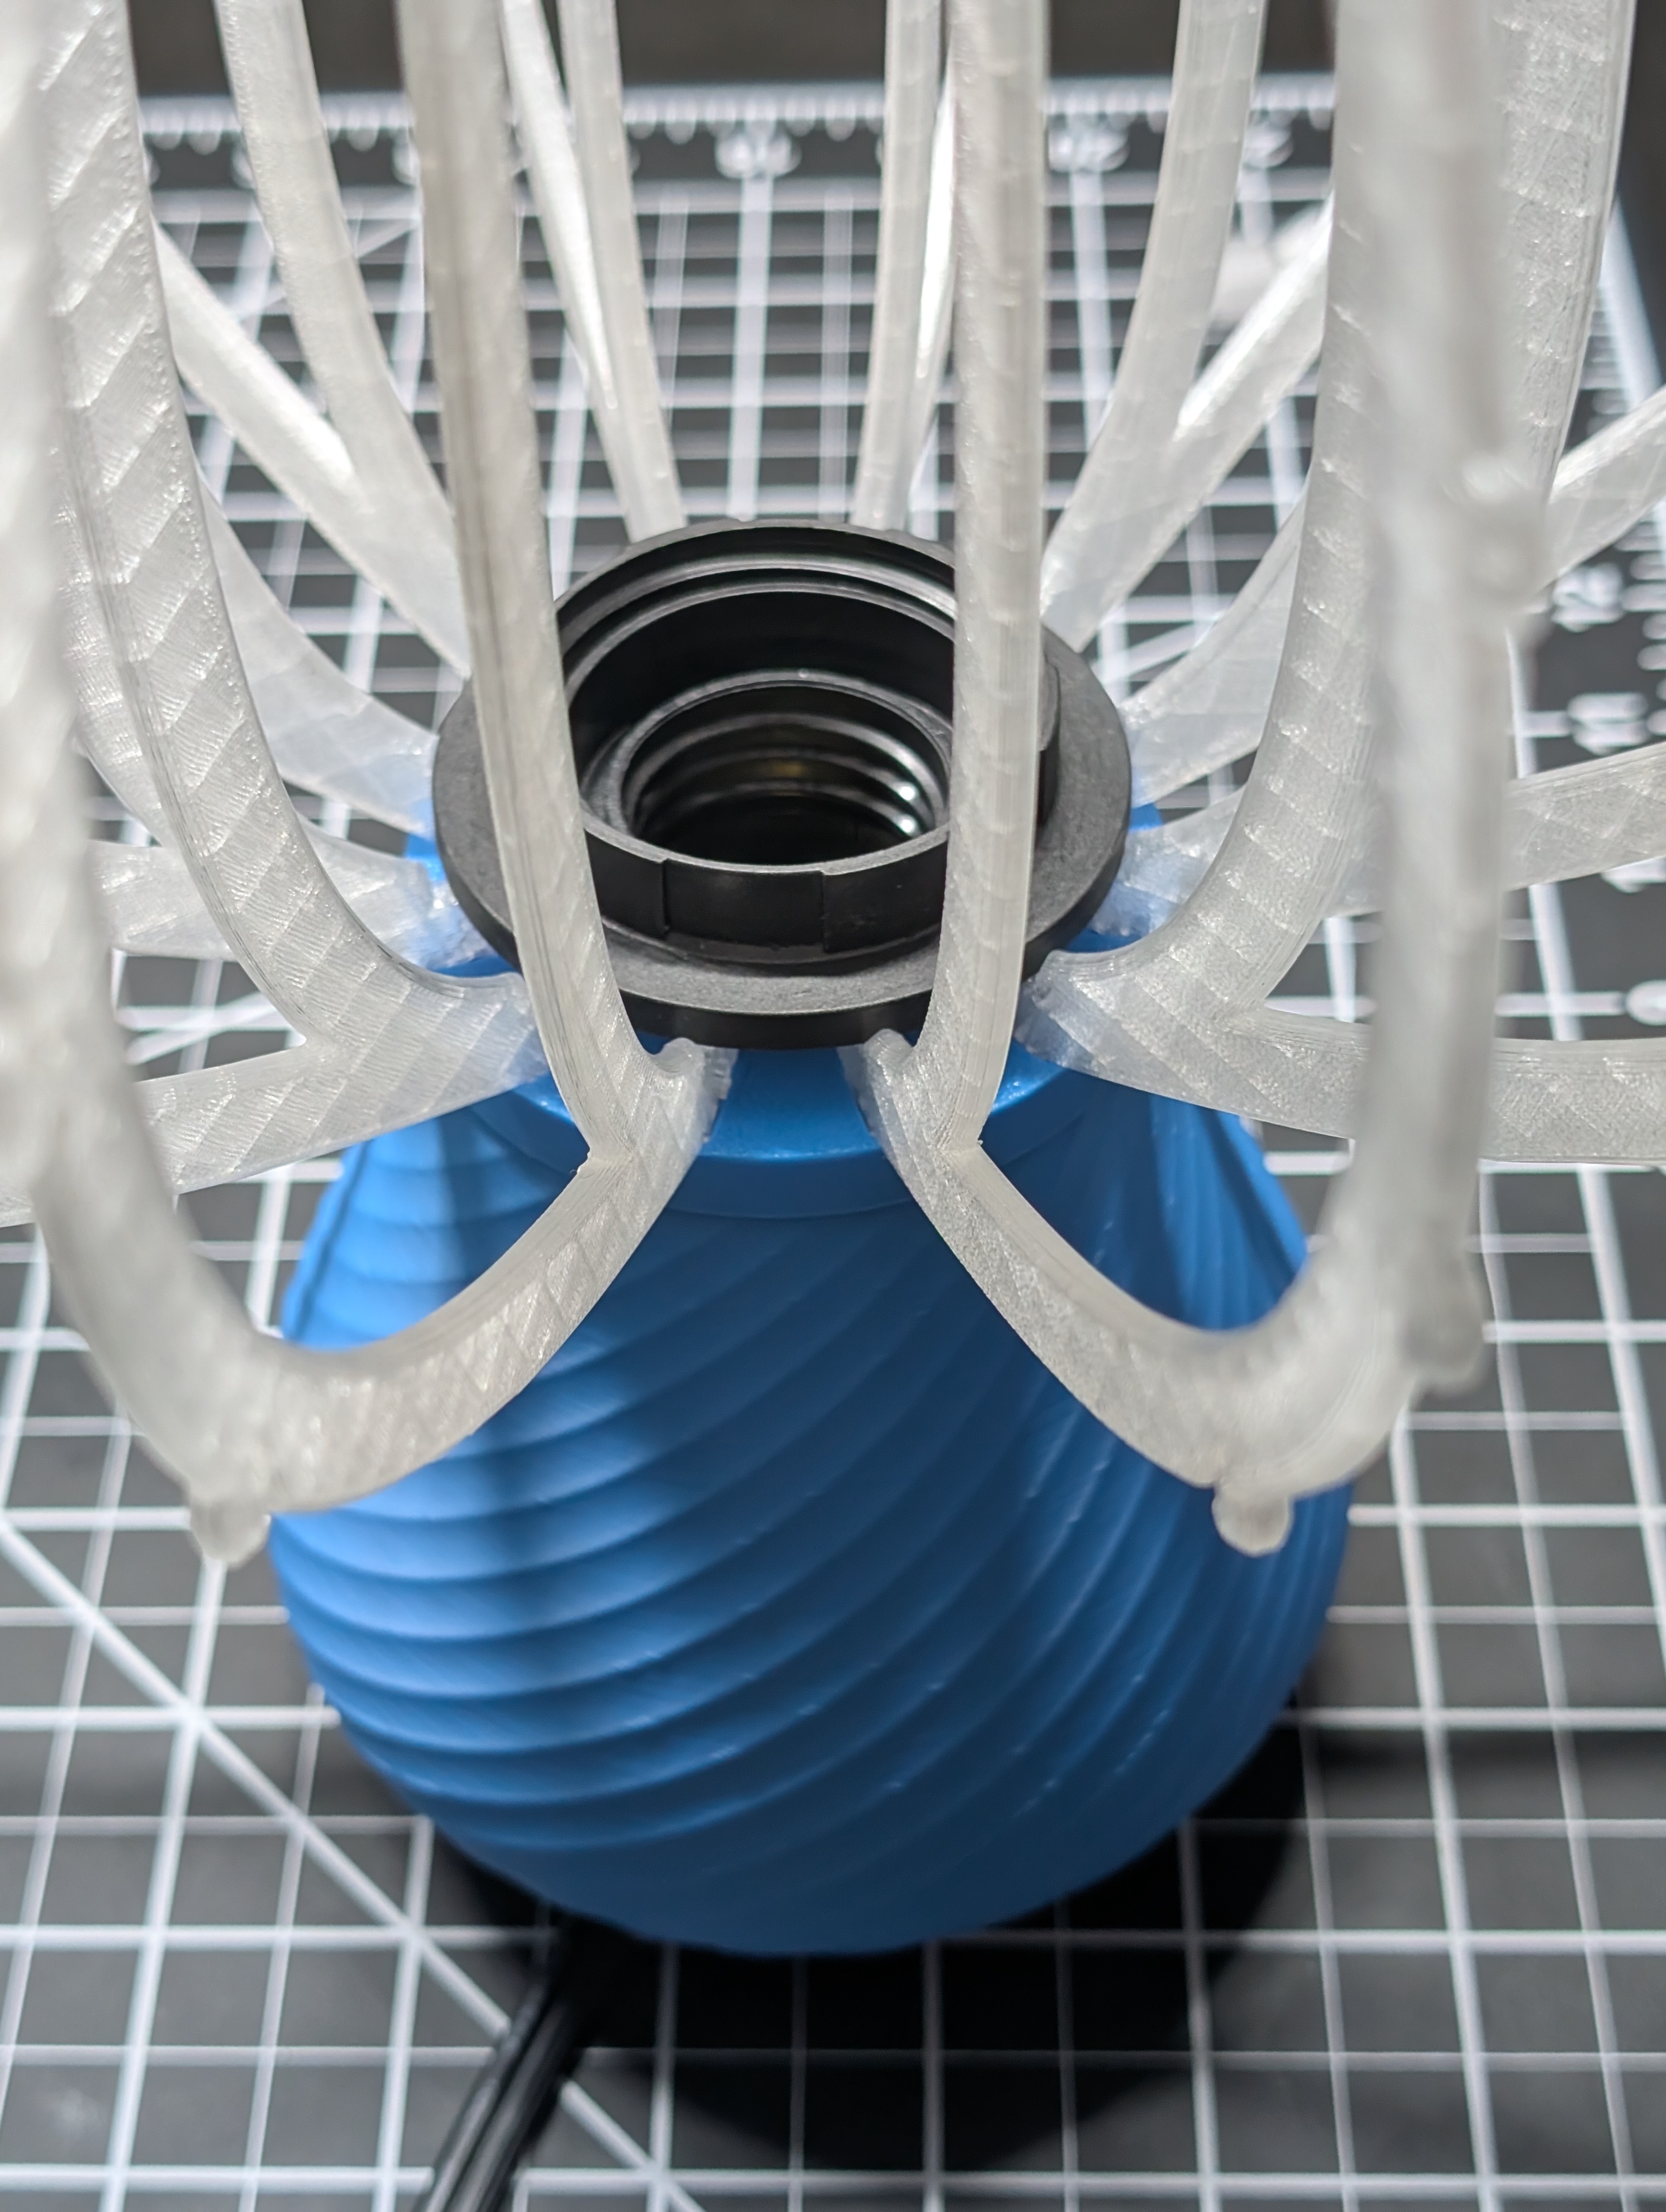
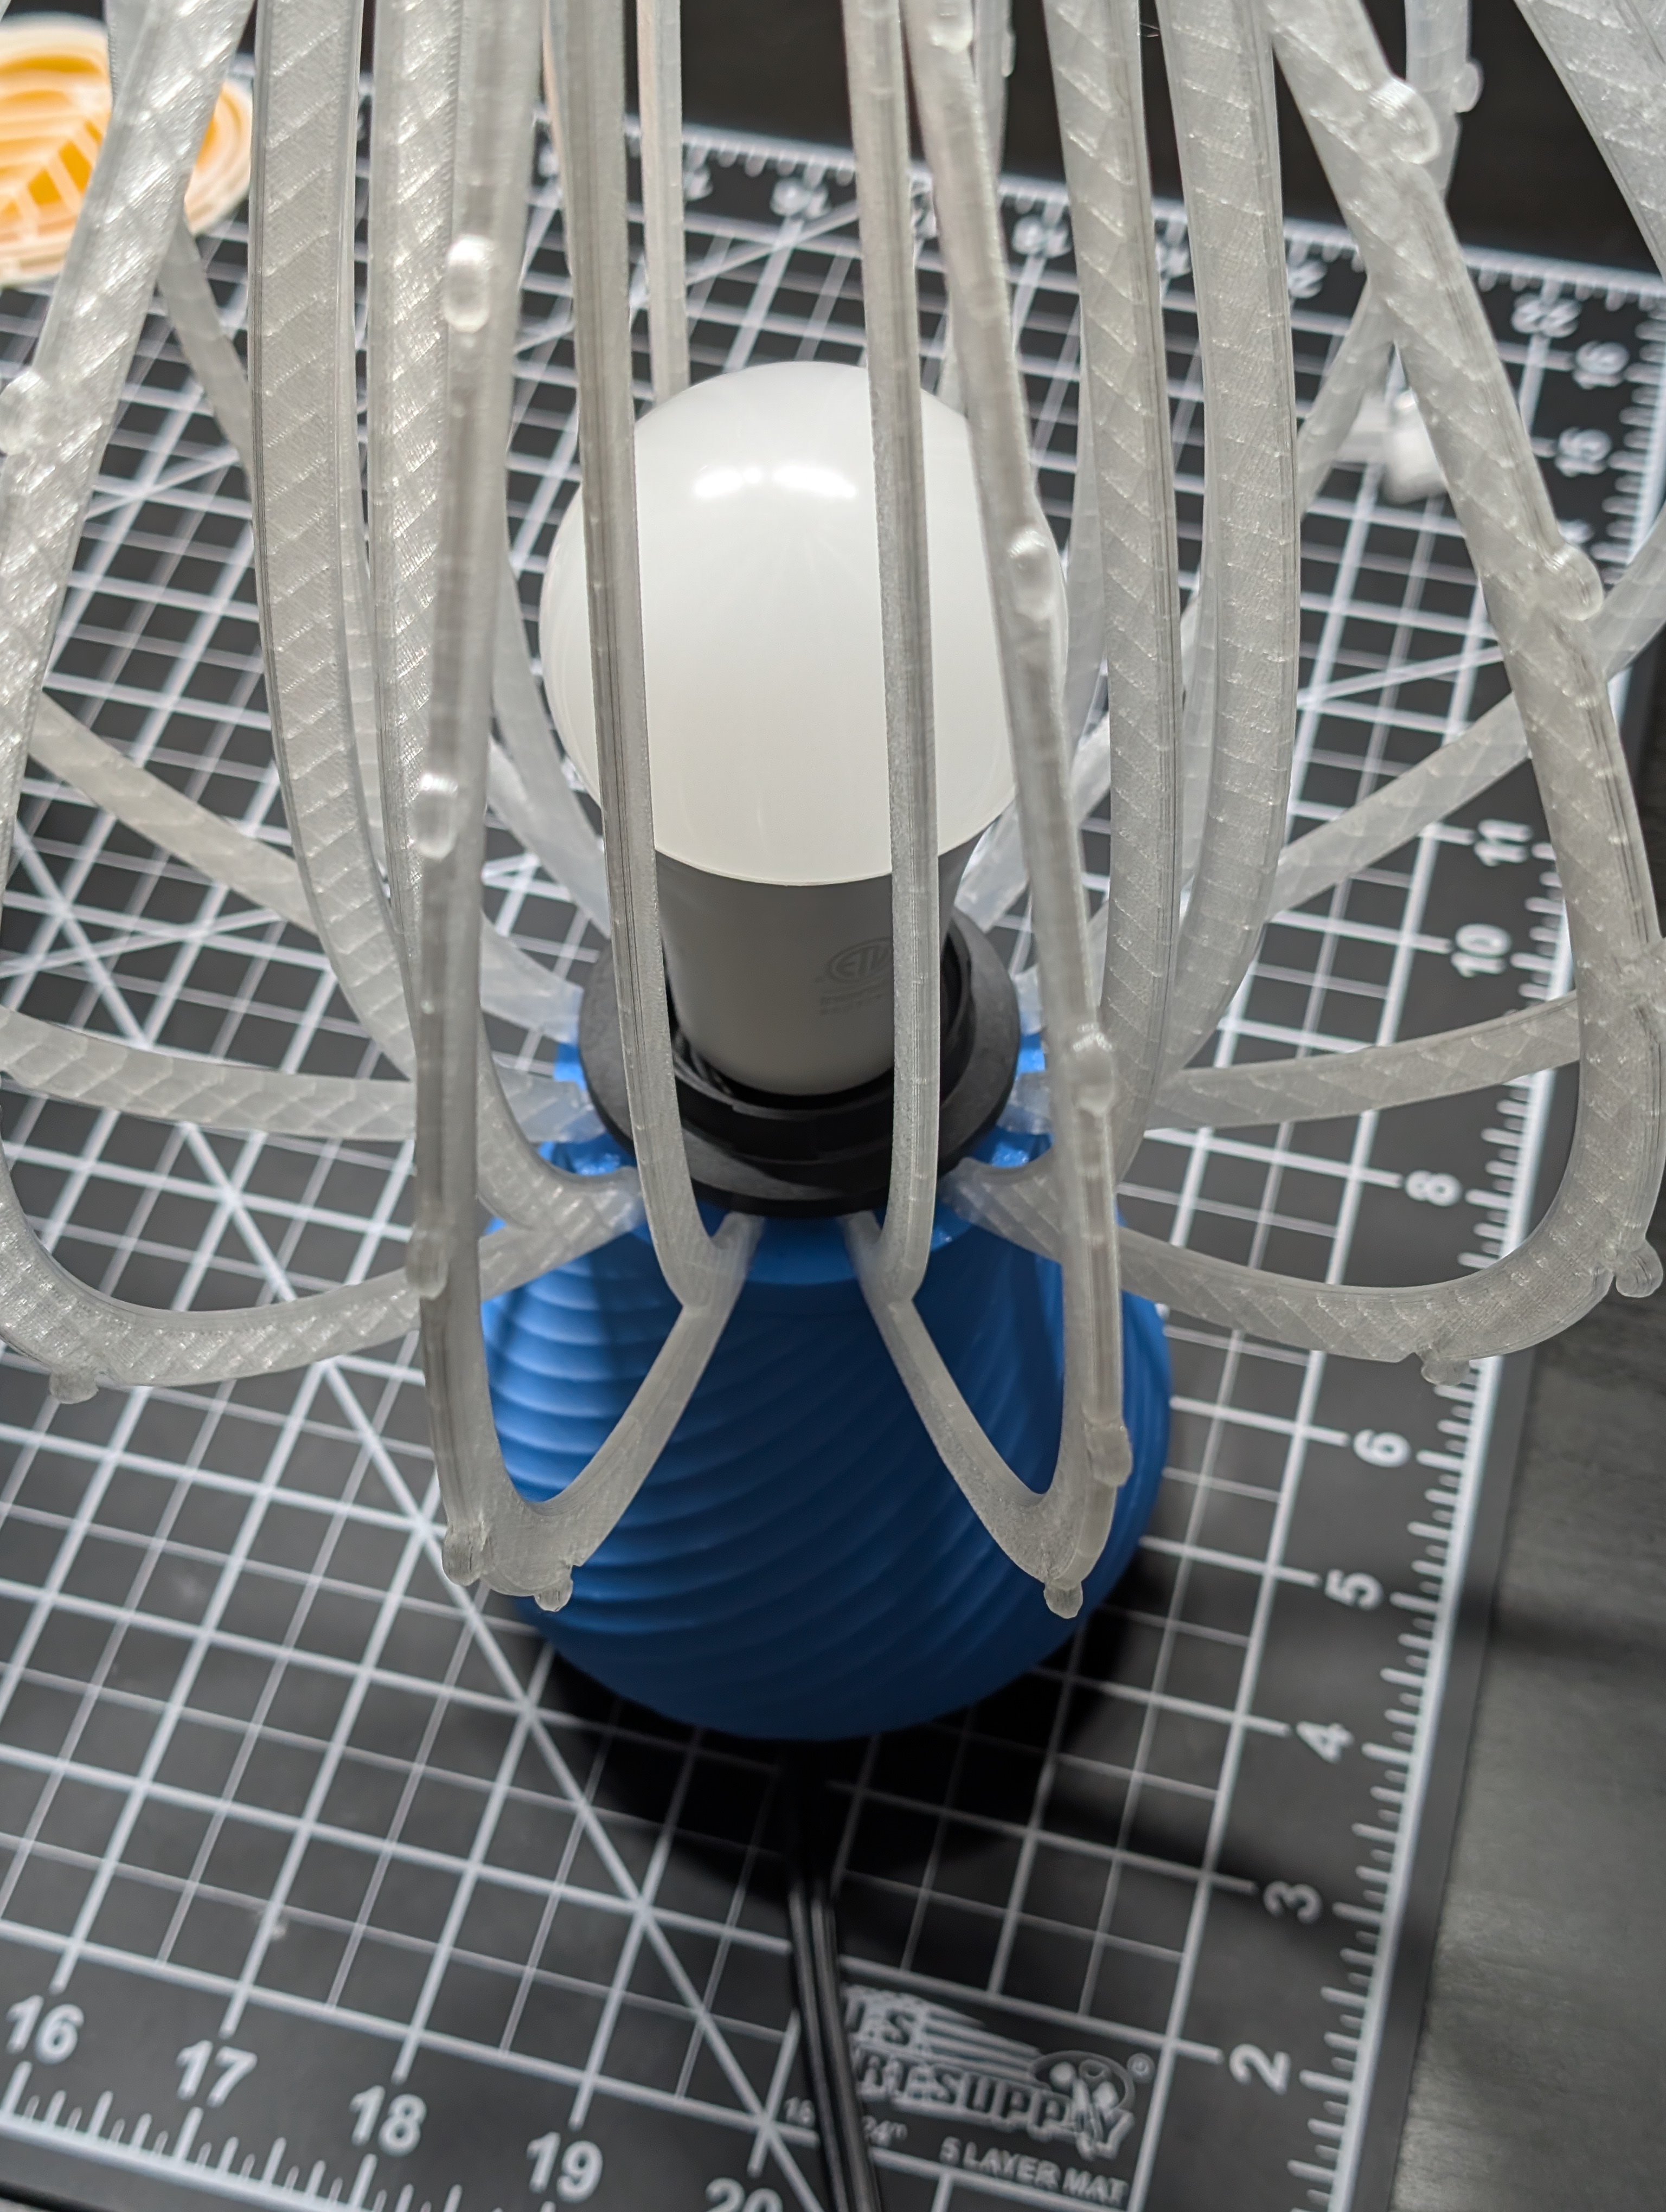
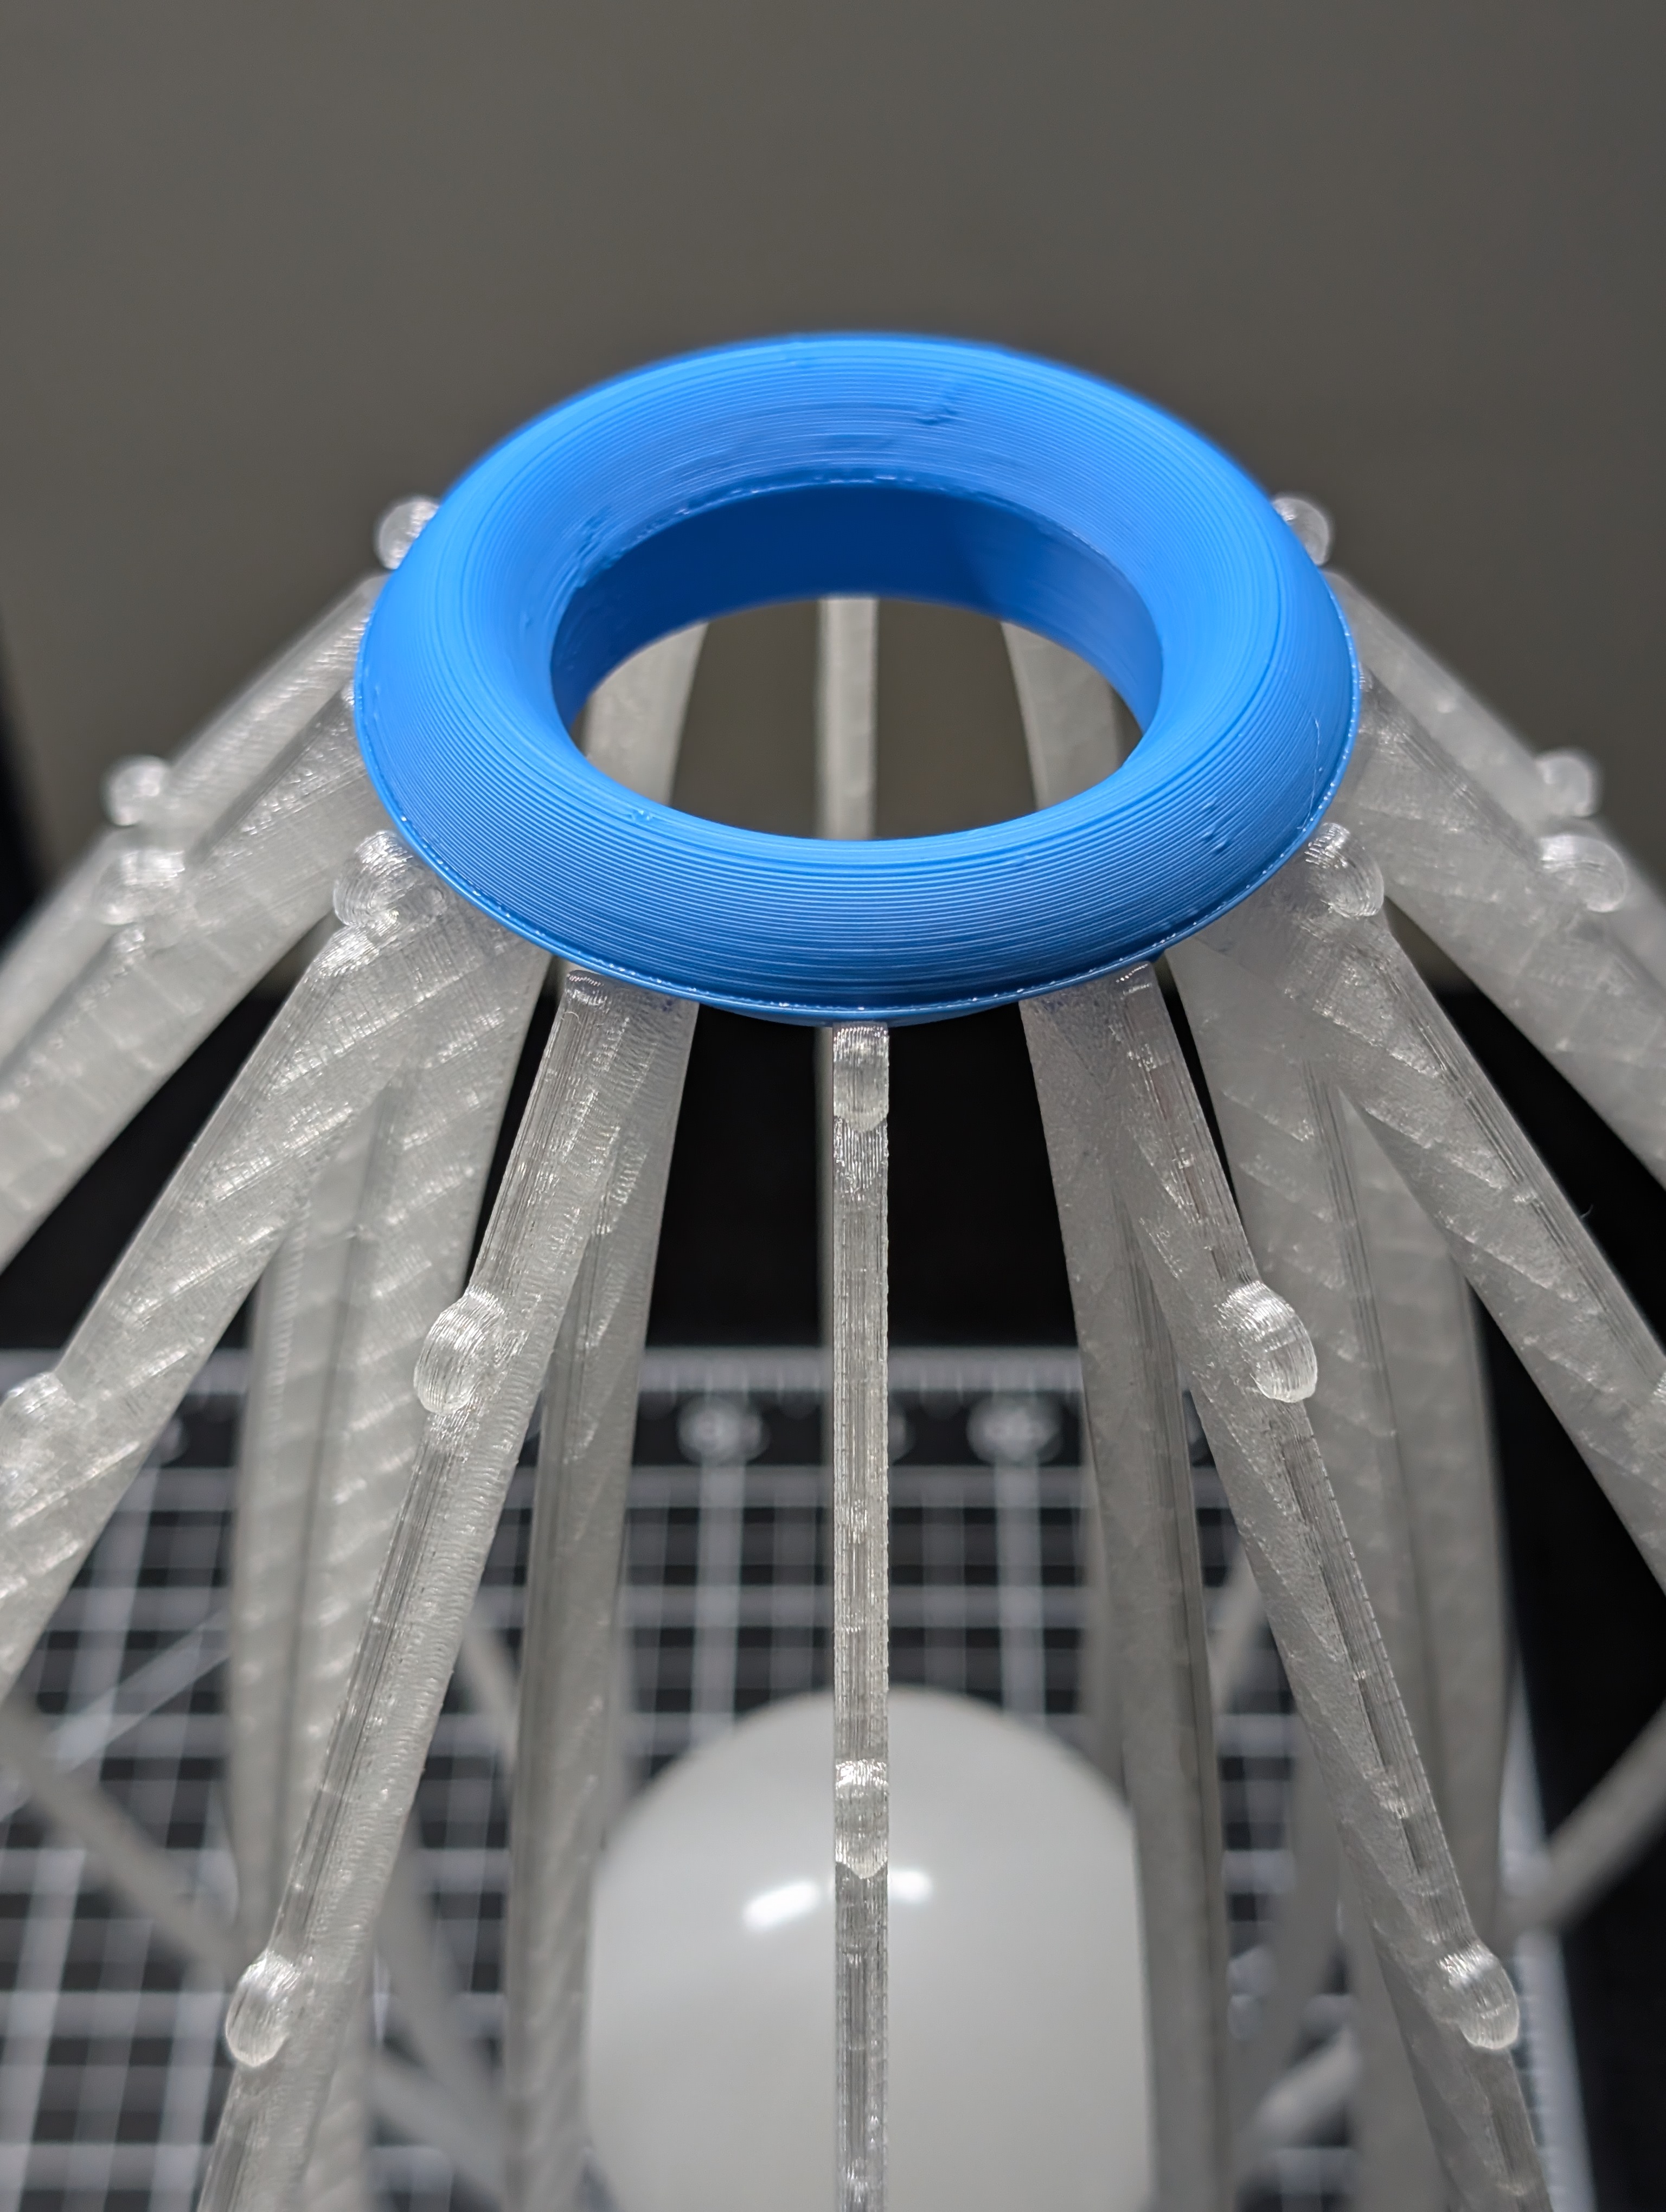
Important: The base comes fully assembled with the lamp socket installed. Only LED-style bulbs should be used.

Attach Splines

  1. Locate the 12 spline slots around the base.
  2. Each spline has a small number (1 or 2) etched on the bottom.
  3. Attach the splines in rotating order: 1, 2, 1, 2… until all 12 slots are filled.
Spline Number Locations
Spline Attachment Diagram
Attach splines in alternating order around the base

Lock Splines in Place

  1. Take the included locking ring.
  2. Screw locking ring onto lamp socket and into the channel at the base of each corresponding spline.
  3. Ensure the spline is secure and does not wobble.
Locking Ring Installation
Locking ring in place

Install LED Bulb

  1. Insert the included LED bulb or one of your choosing (LED only).
  2. Do NOT use incandescent bulbs; they burn too hot.
LED Bulb Installation

Attach Top Connector

  1. Open the bag labeled #1 and remove the Top Connector.
  2. Note orientation of Top Connector skinny side down and flat side up.
  3. Place the Top Connector on top of the spline pieces and push each connector through to lock them together.
Top Connector Orientation
Ensure that Top Connector has the flat slide up as shown in the picture.
Top Connector Installation
Secure splines with the Top Connector.

Install Top Cover and Clips

  1. Open the bag labeled #2 and remove the Top Cover and 3 small clips.
  2. Insert the clips into the holes on the bottom of the Top Cover.
  3. Connect the Top Cover with clips installed to the Top Connector.
Top Cover Clip Installation
Place 3 clips in the locations as shown in the picture.
Top Cover Fully Installed
Attach Top Cover to Top Connector from previous step using the 3 clips.

Leaf Placement – Splines #1

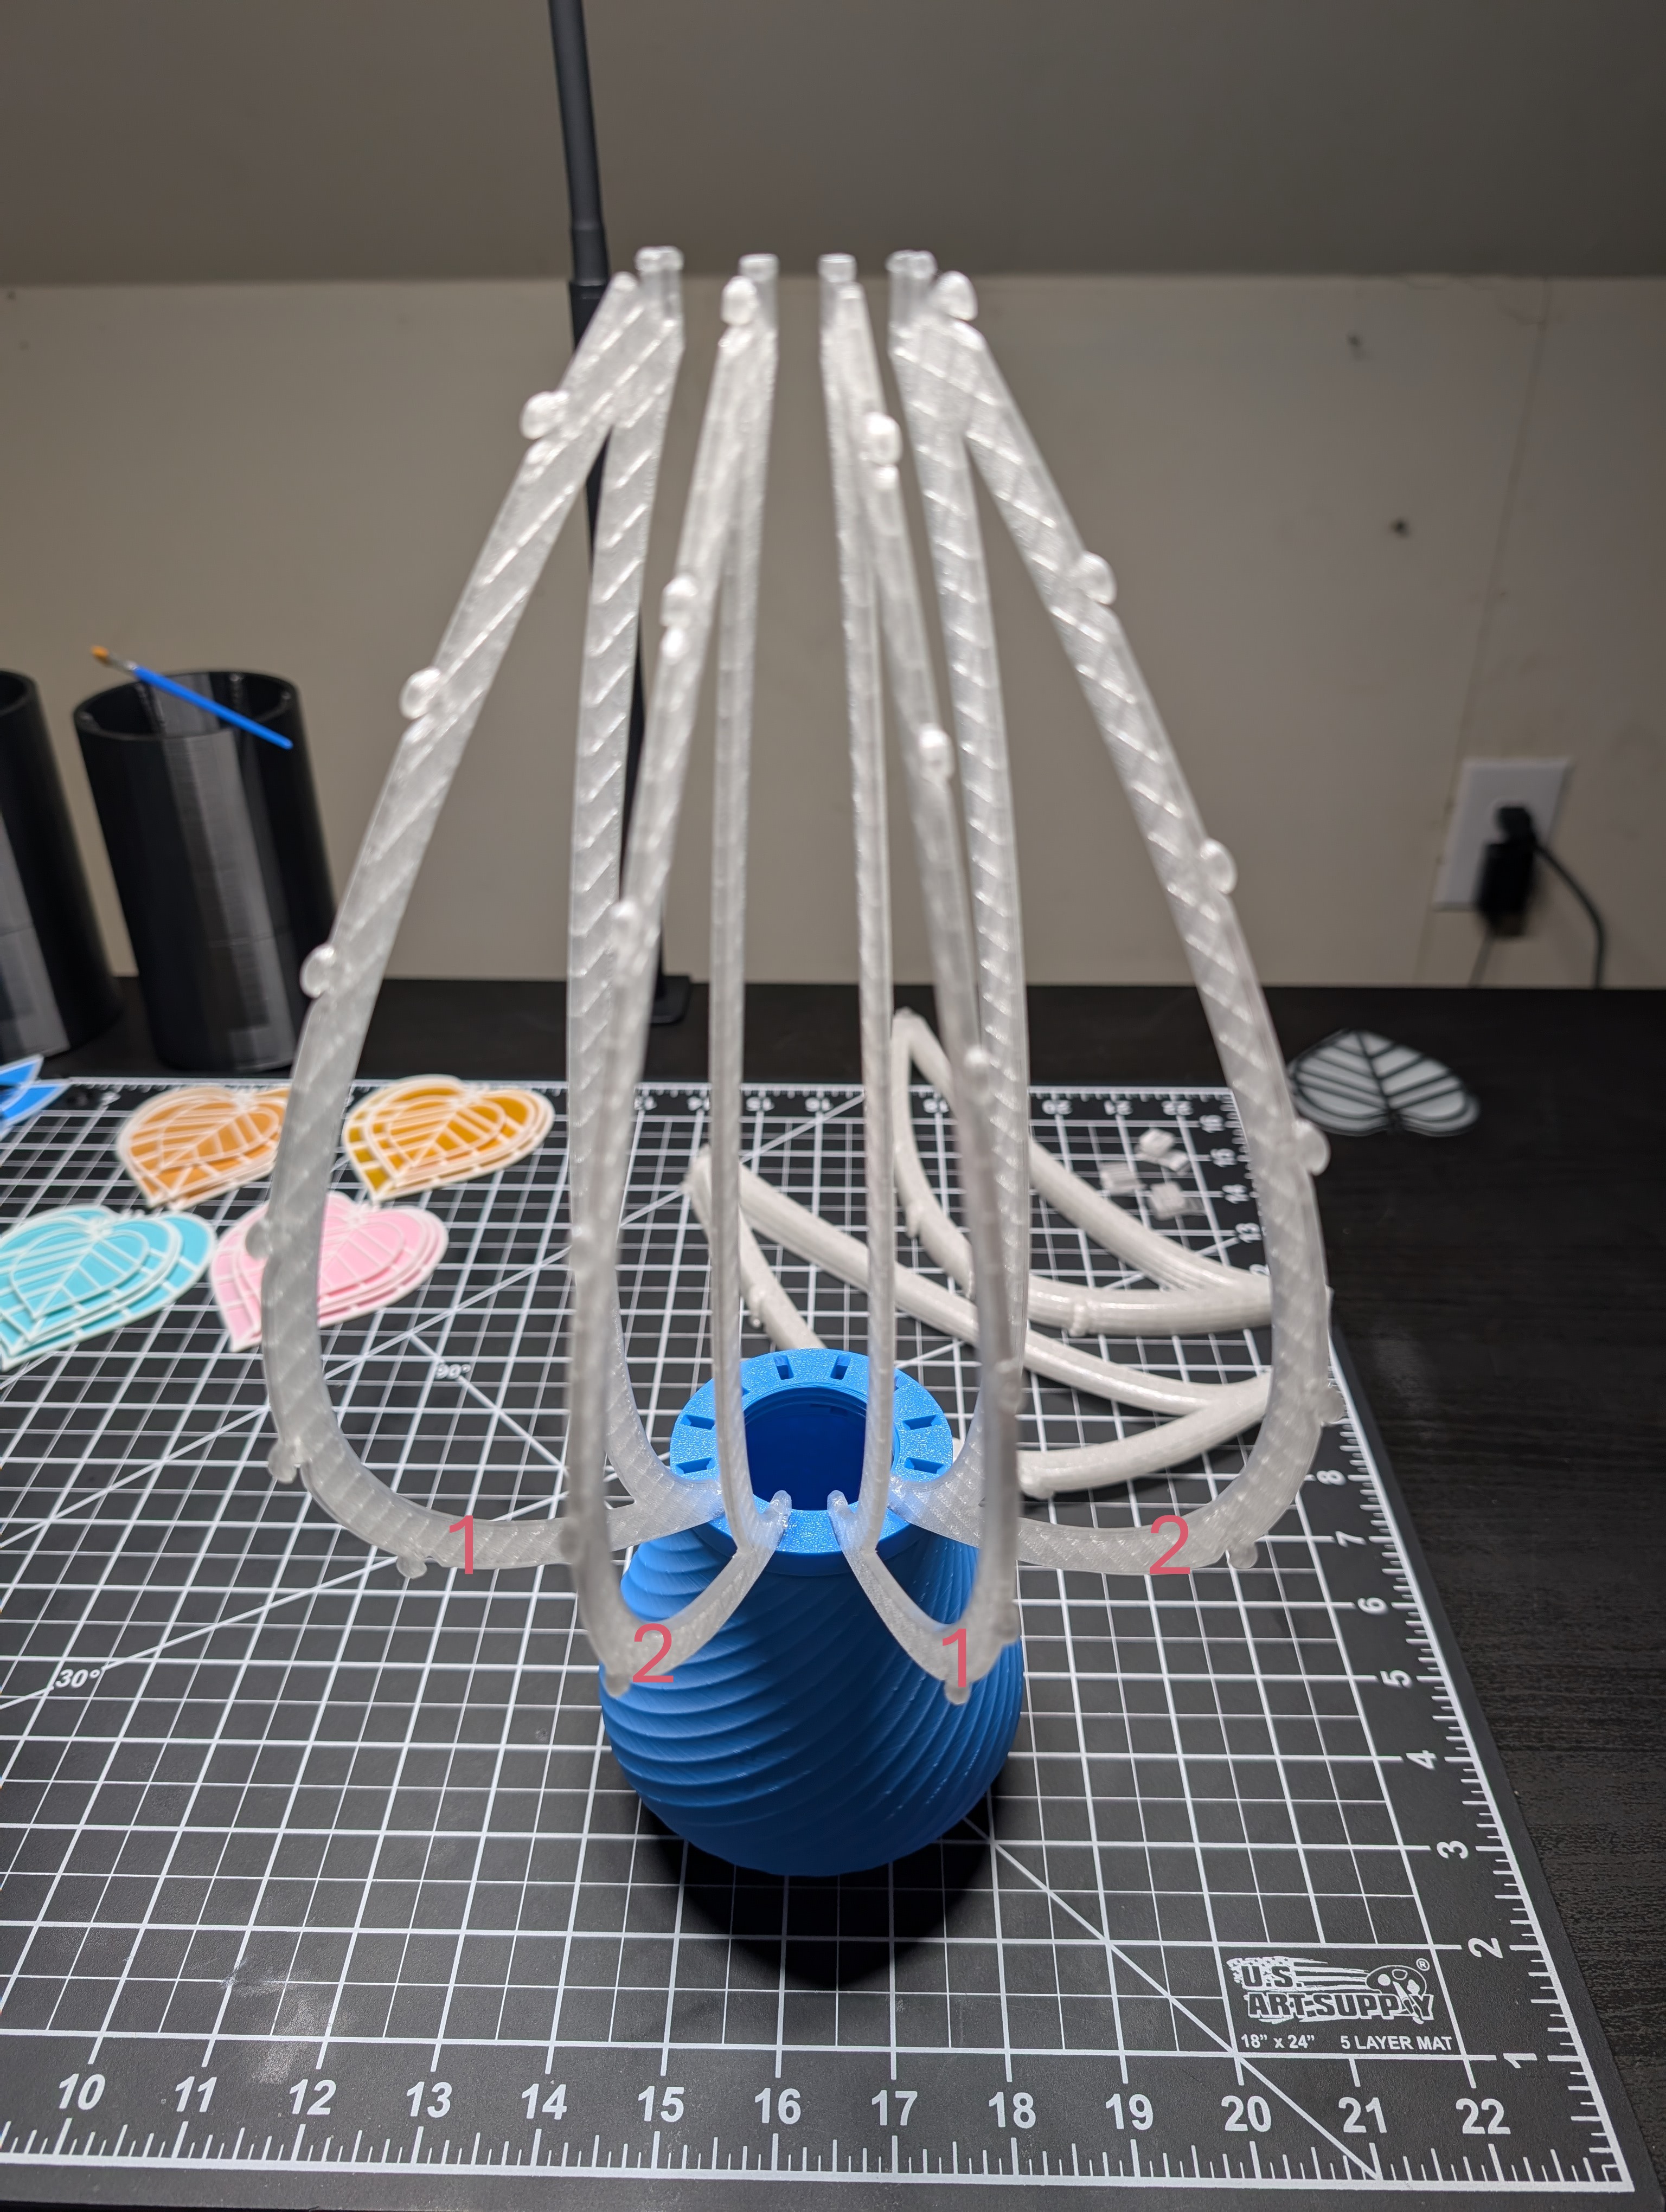
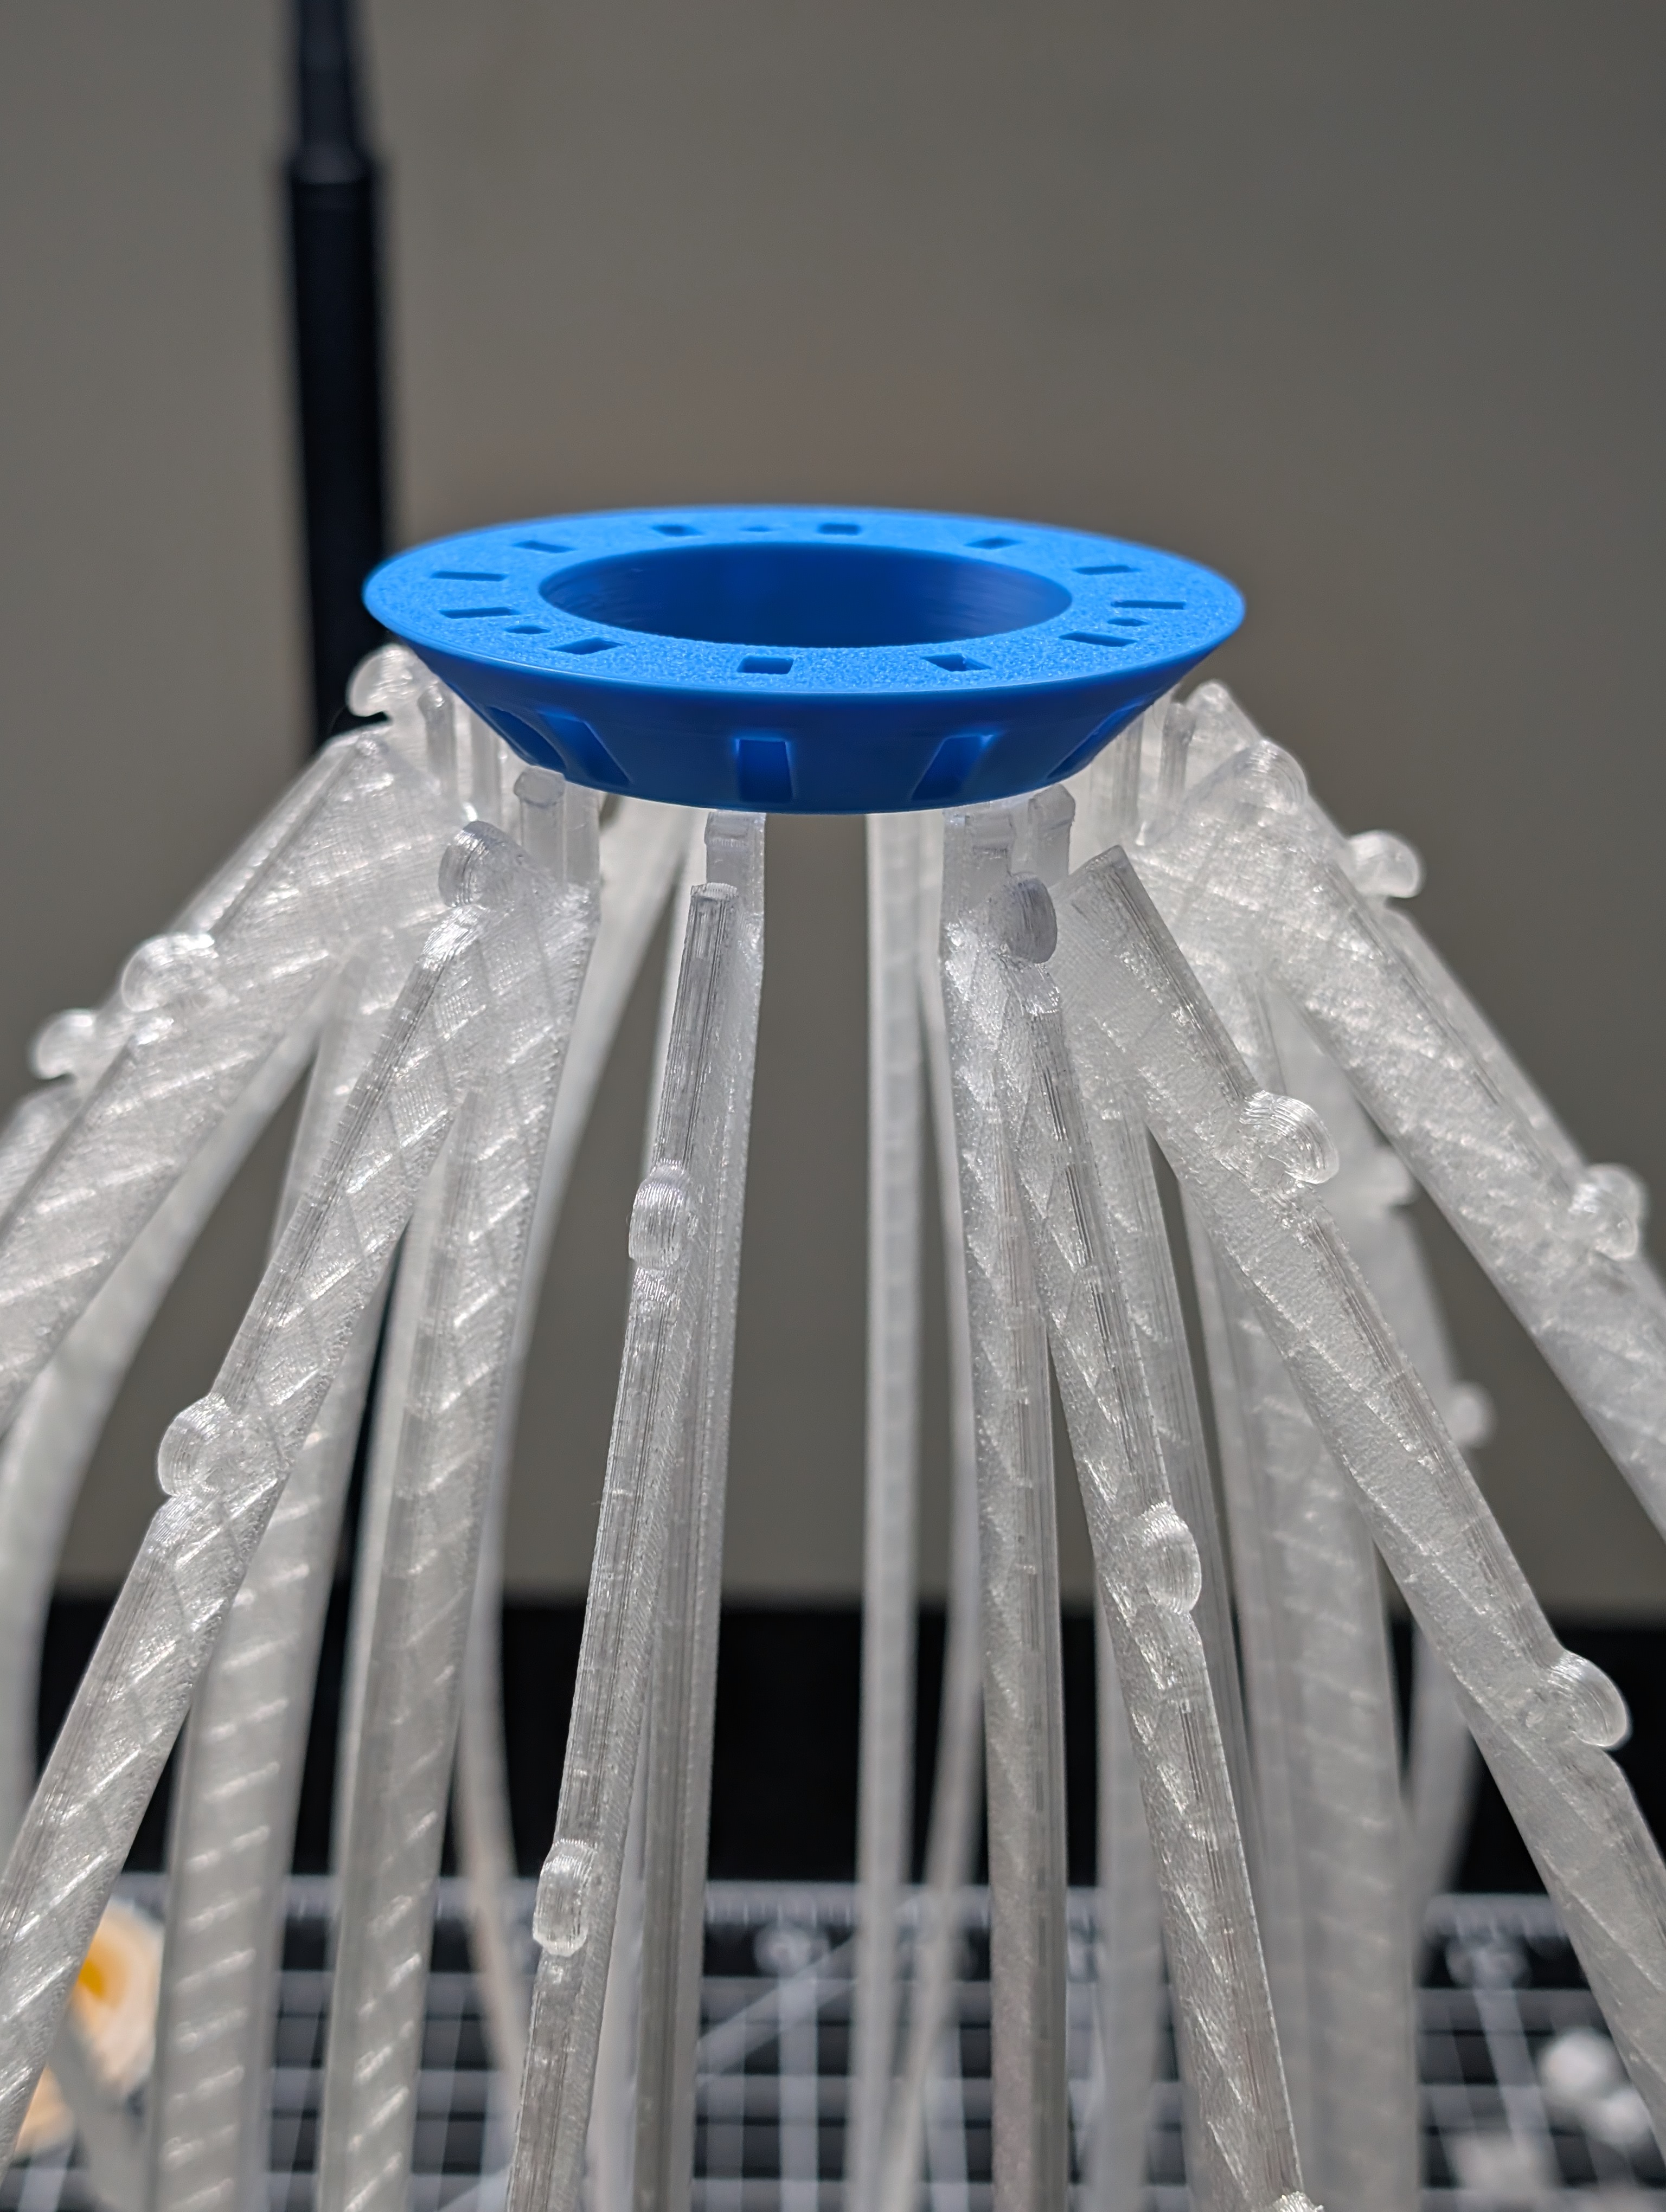
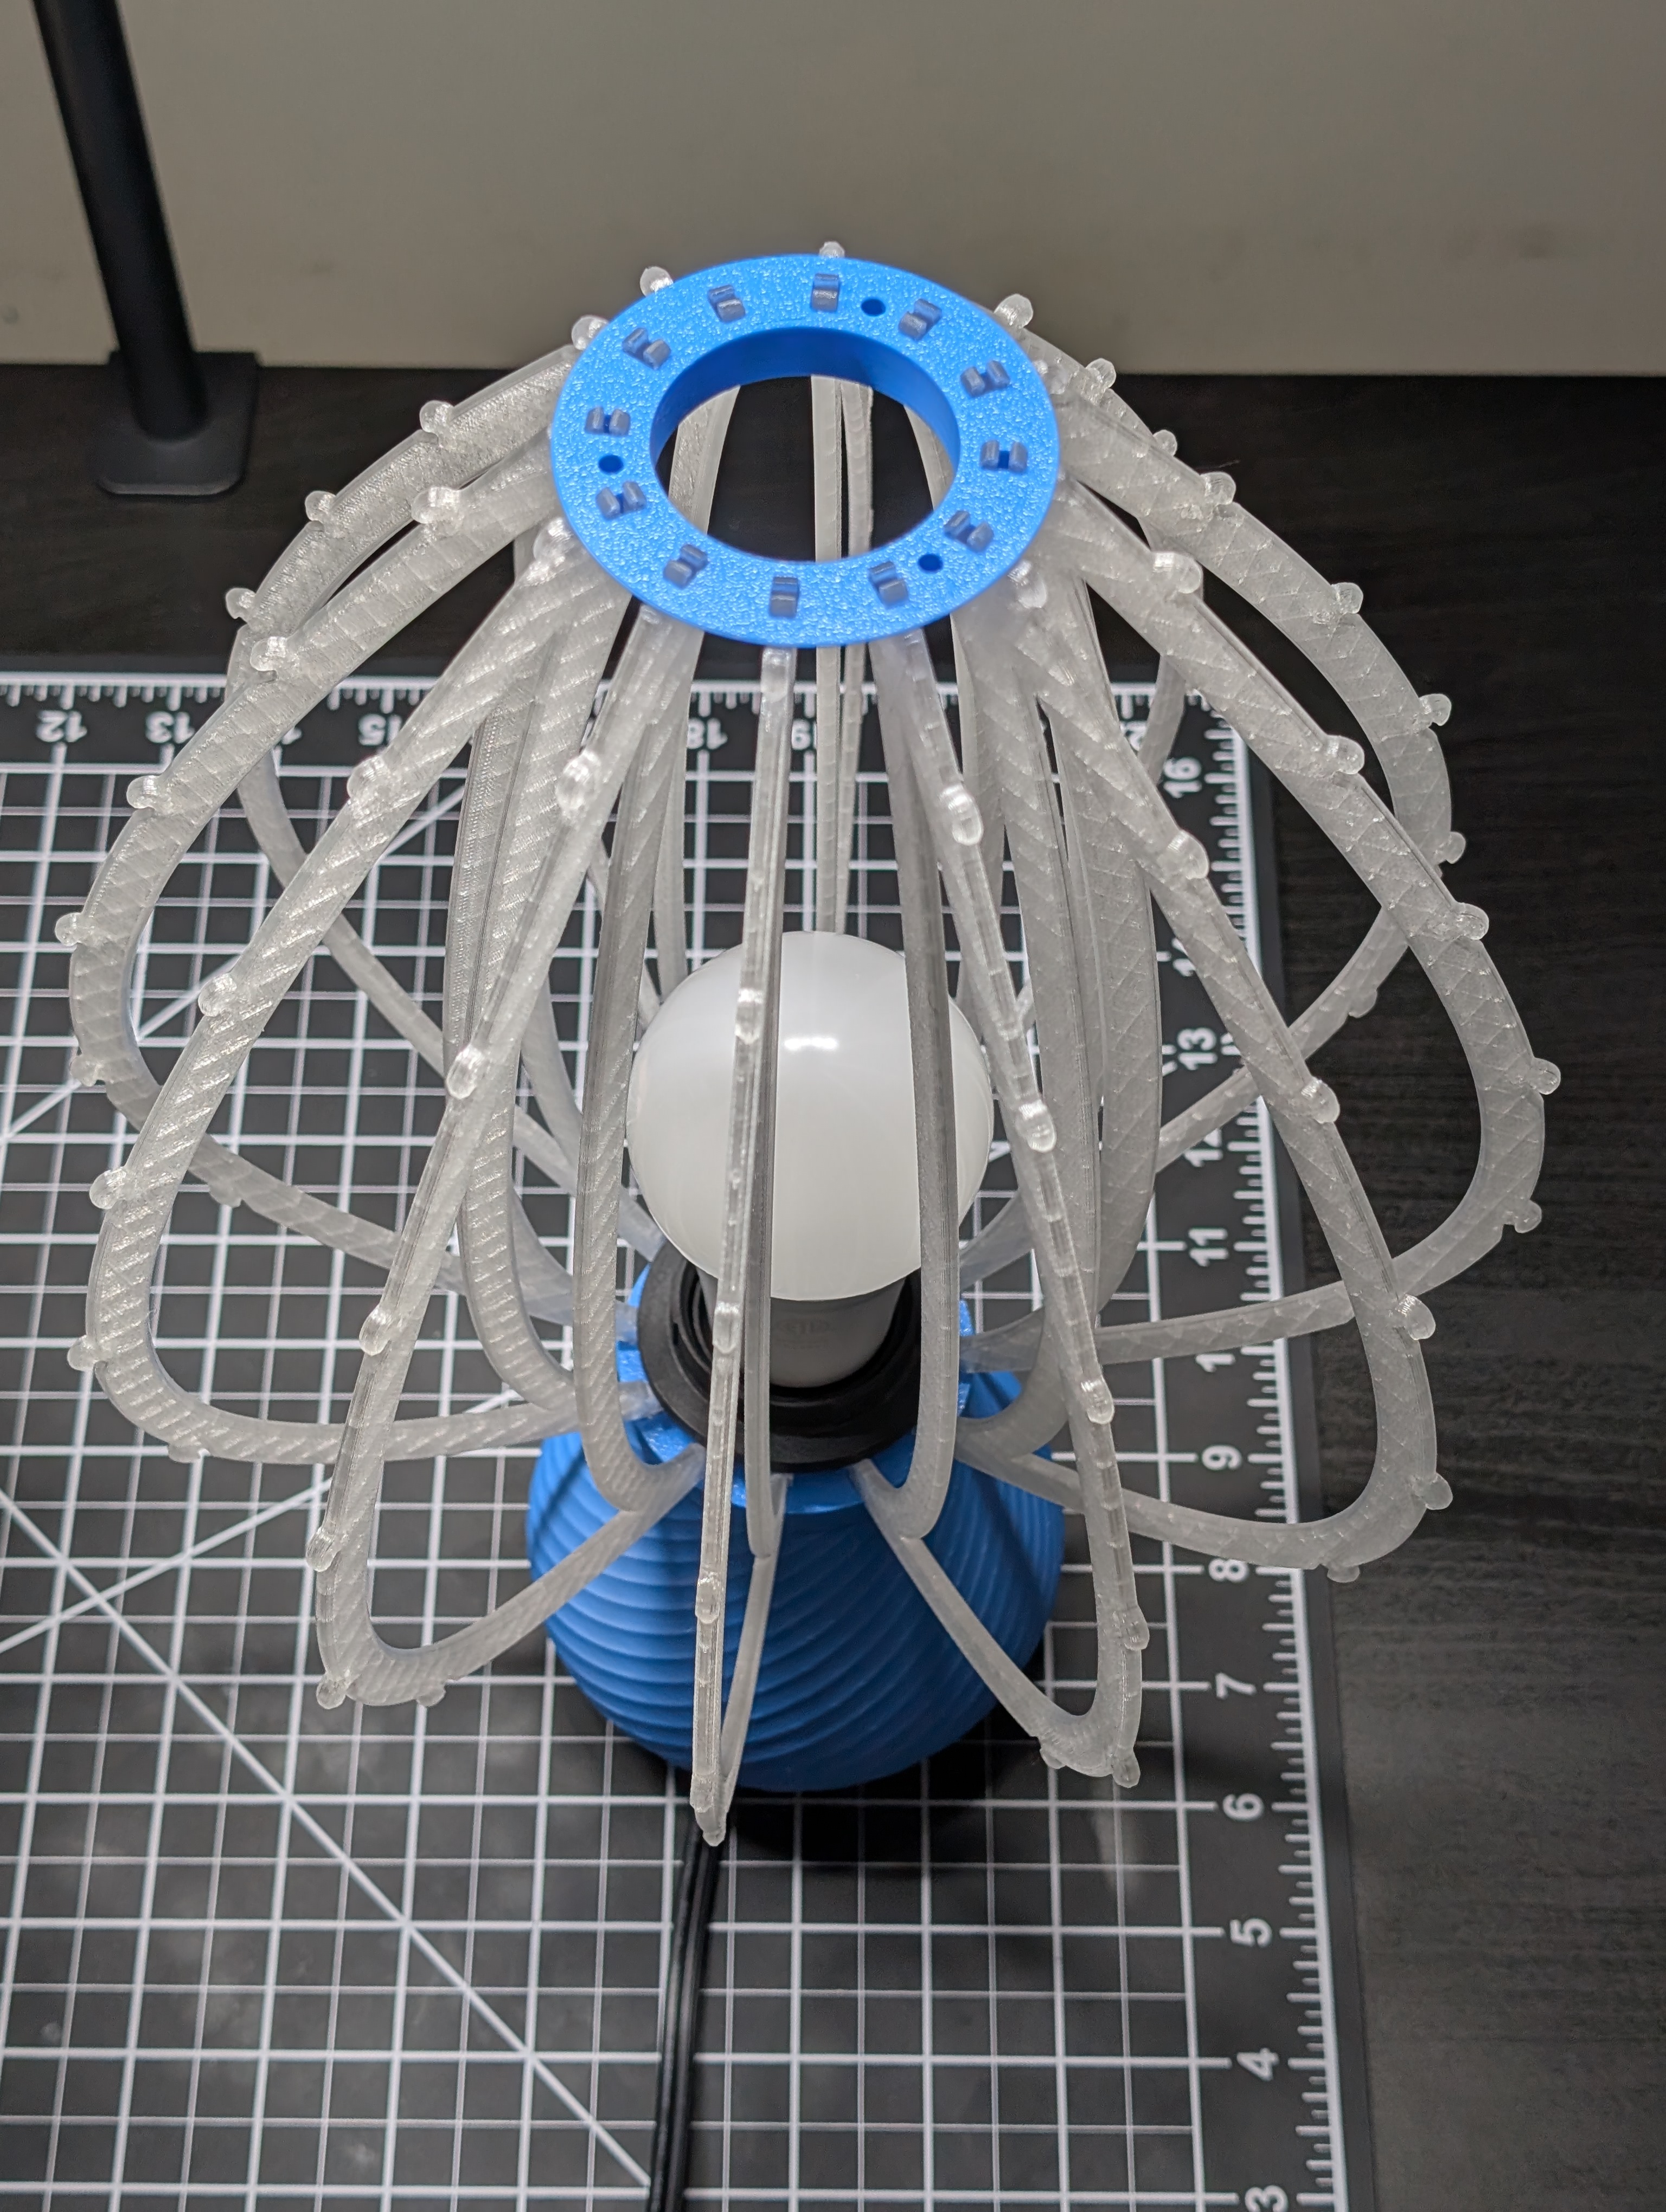
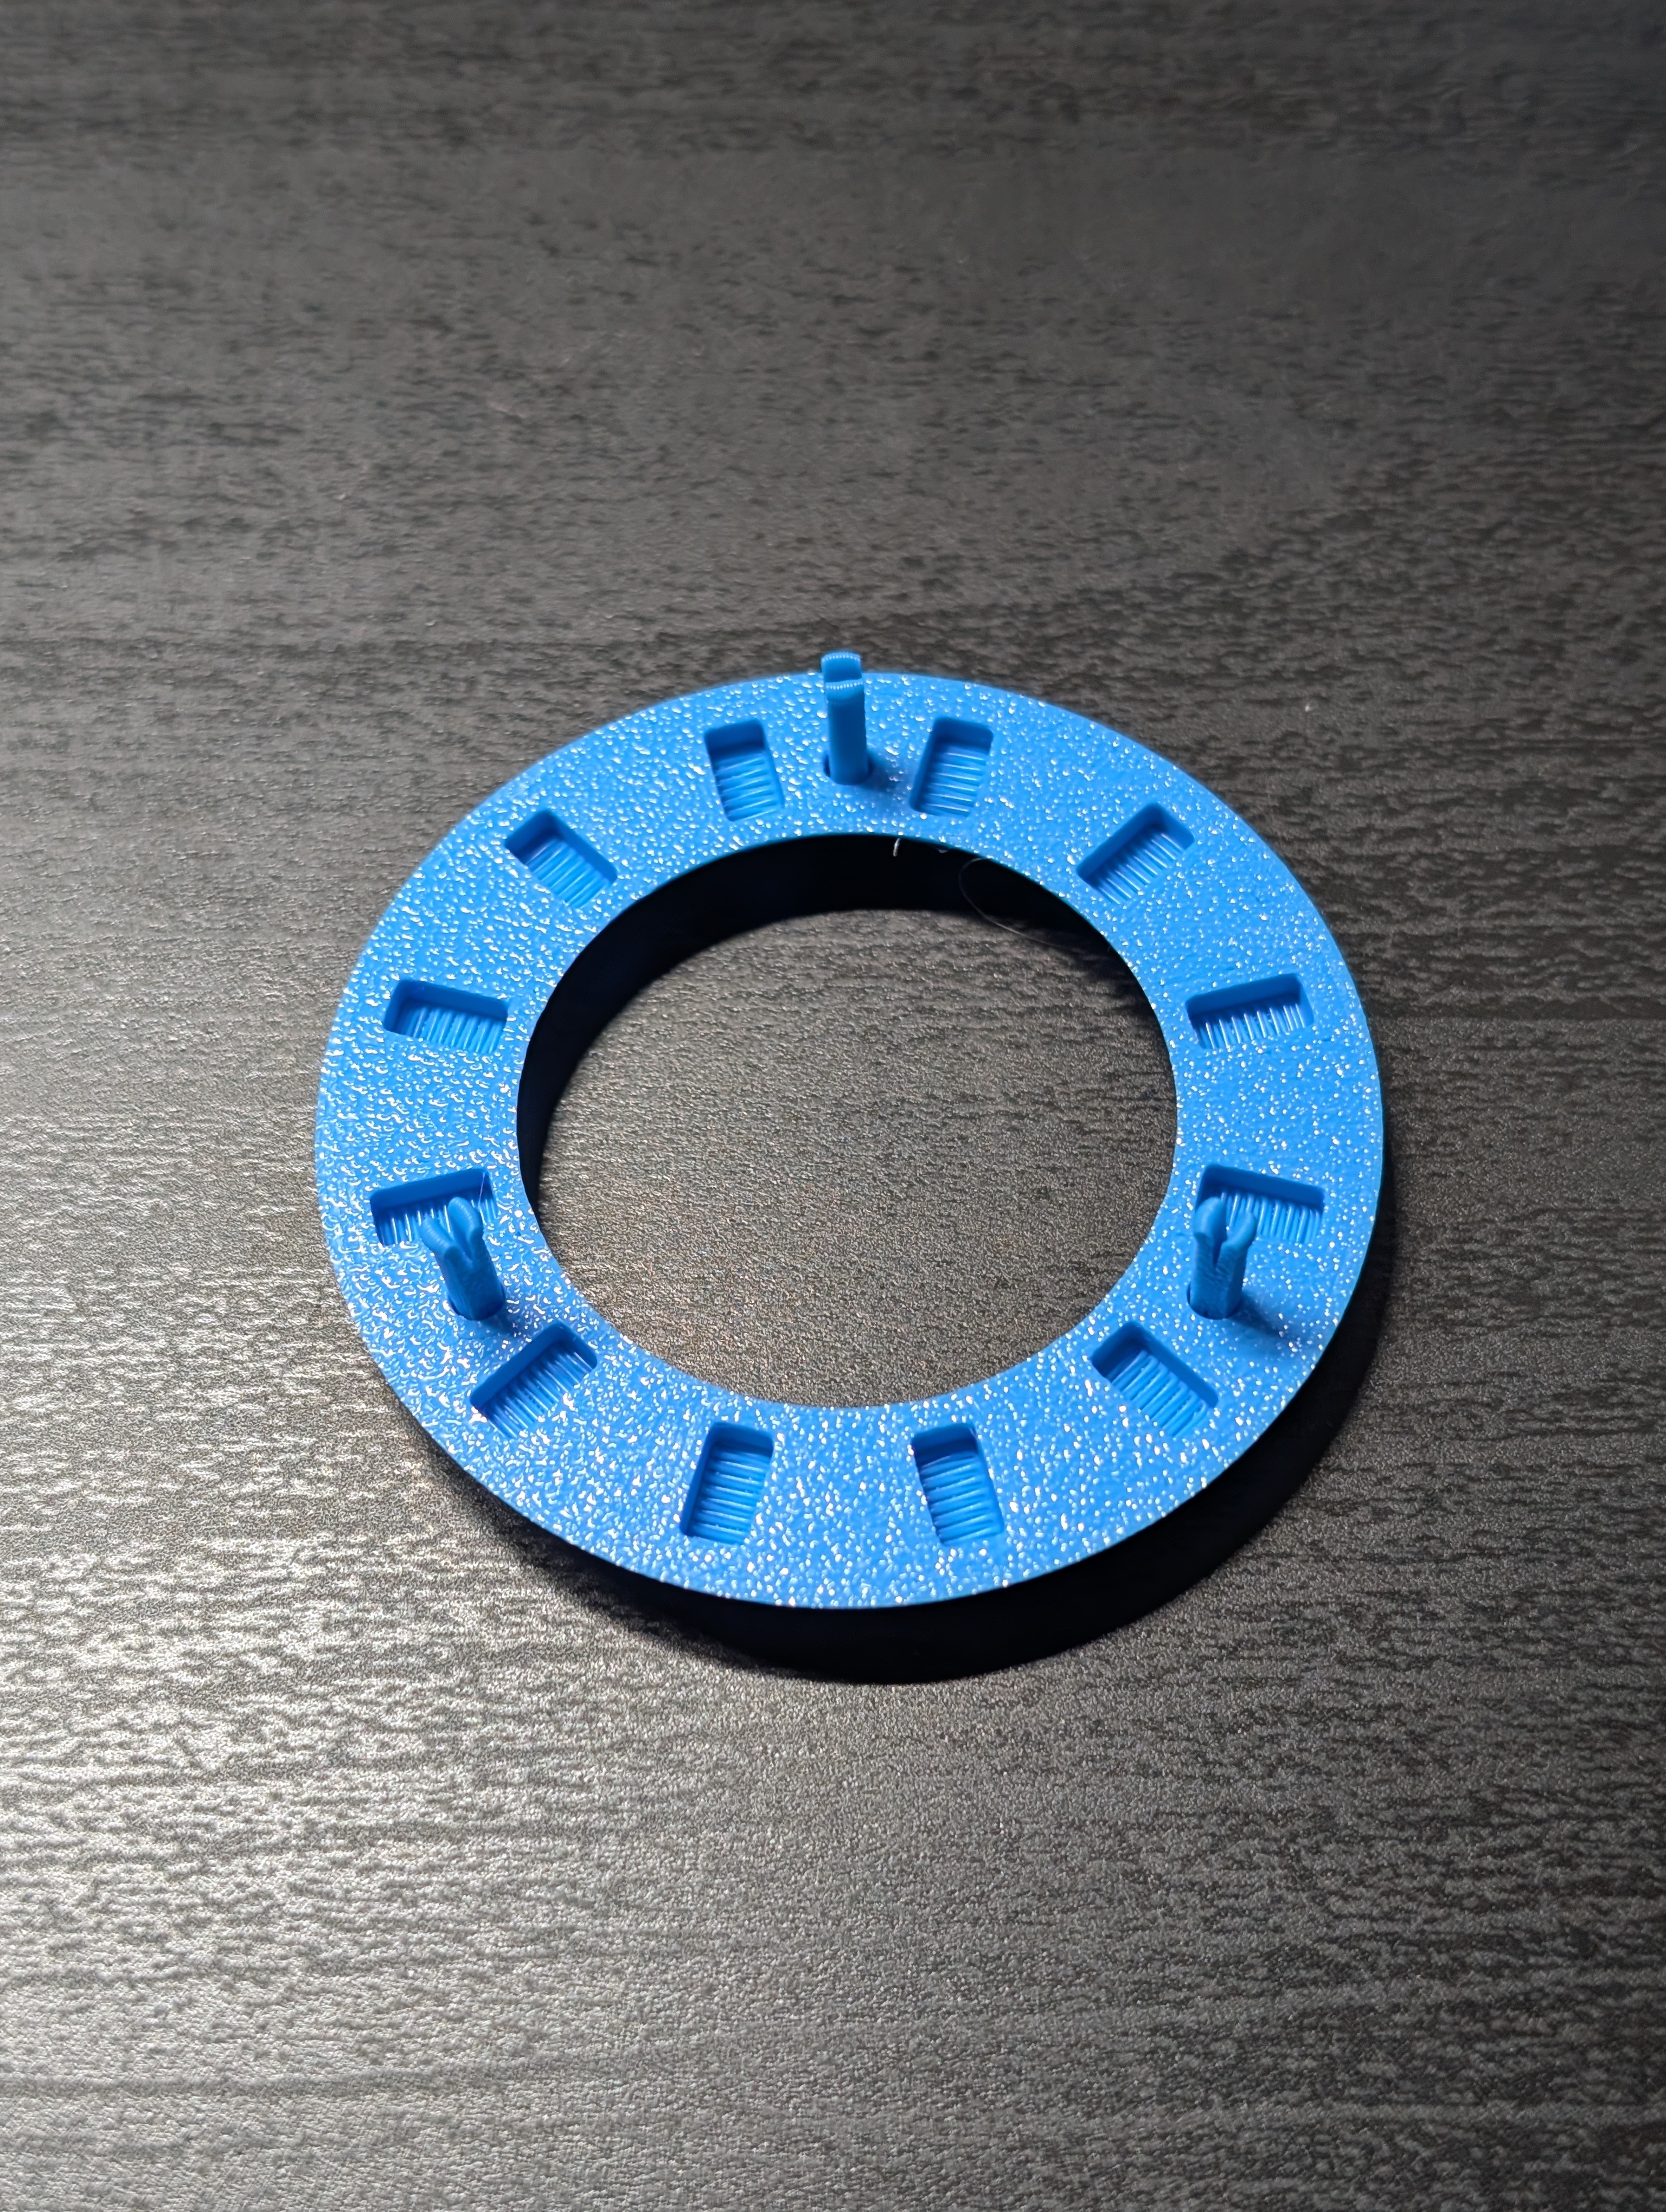
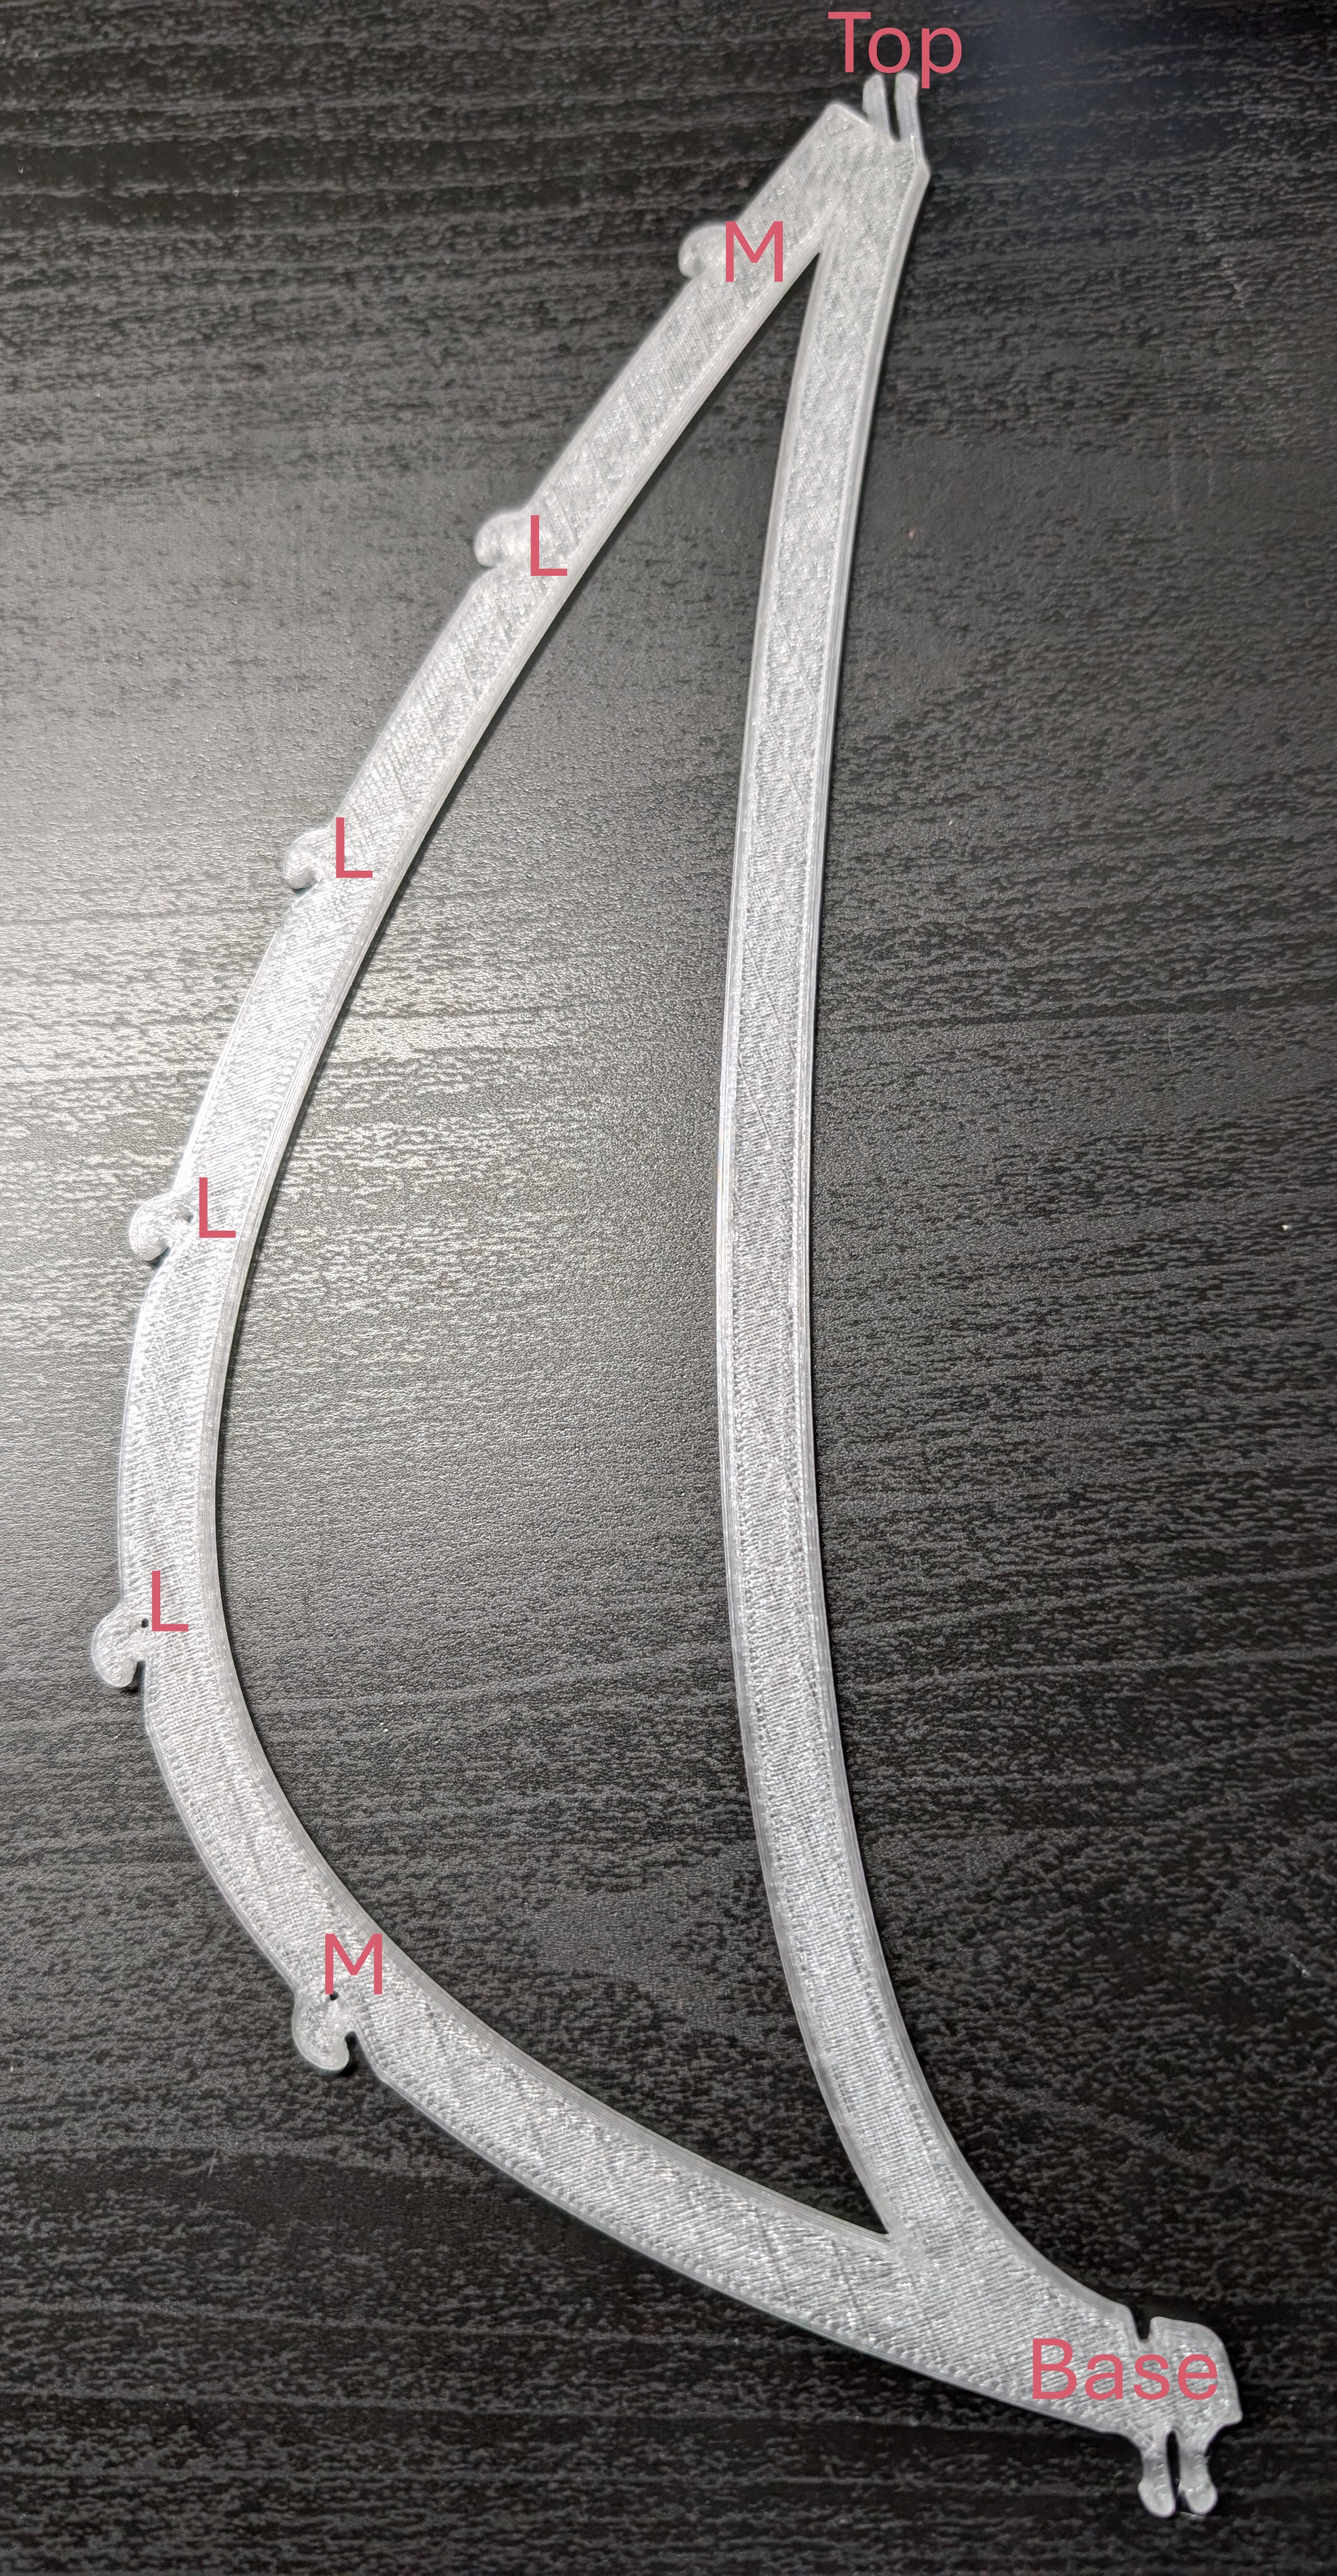
Place leaves on all splines labeled #1 from bottom to top:

Note: Bags are labeled with each leaf size (For Example S, M, L, XL)

  • M → L → L → L → L → M
Leaf Placement Spline 1
Leaf placement for splines labeled #1.

Leaf Placement – Splines #2

Place leaves on all splines labeled #2 from bottom to top:

Note: Bags are labeled with each leaf size (For Example S, M, L, XL)

  • M → XL → XL → XL → M → S
Leaf Placement Spline 2
Leaf placement for splines labeled #2.

Tips for a Smooth Assembly

  • Ensure each spline and leaf is fully seated.
  • Do not overtighten locking rings; they should be snug, not forced.